
Add new event
Creating an event is the central point of the platform. The process is divided into clear steps to ensure all important information is captured.
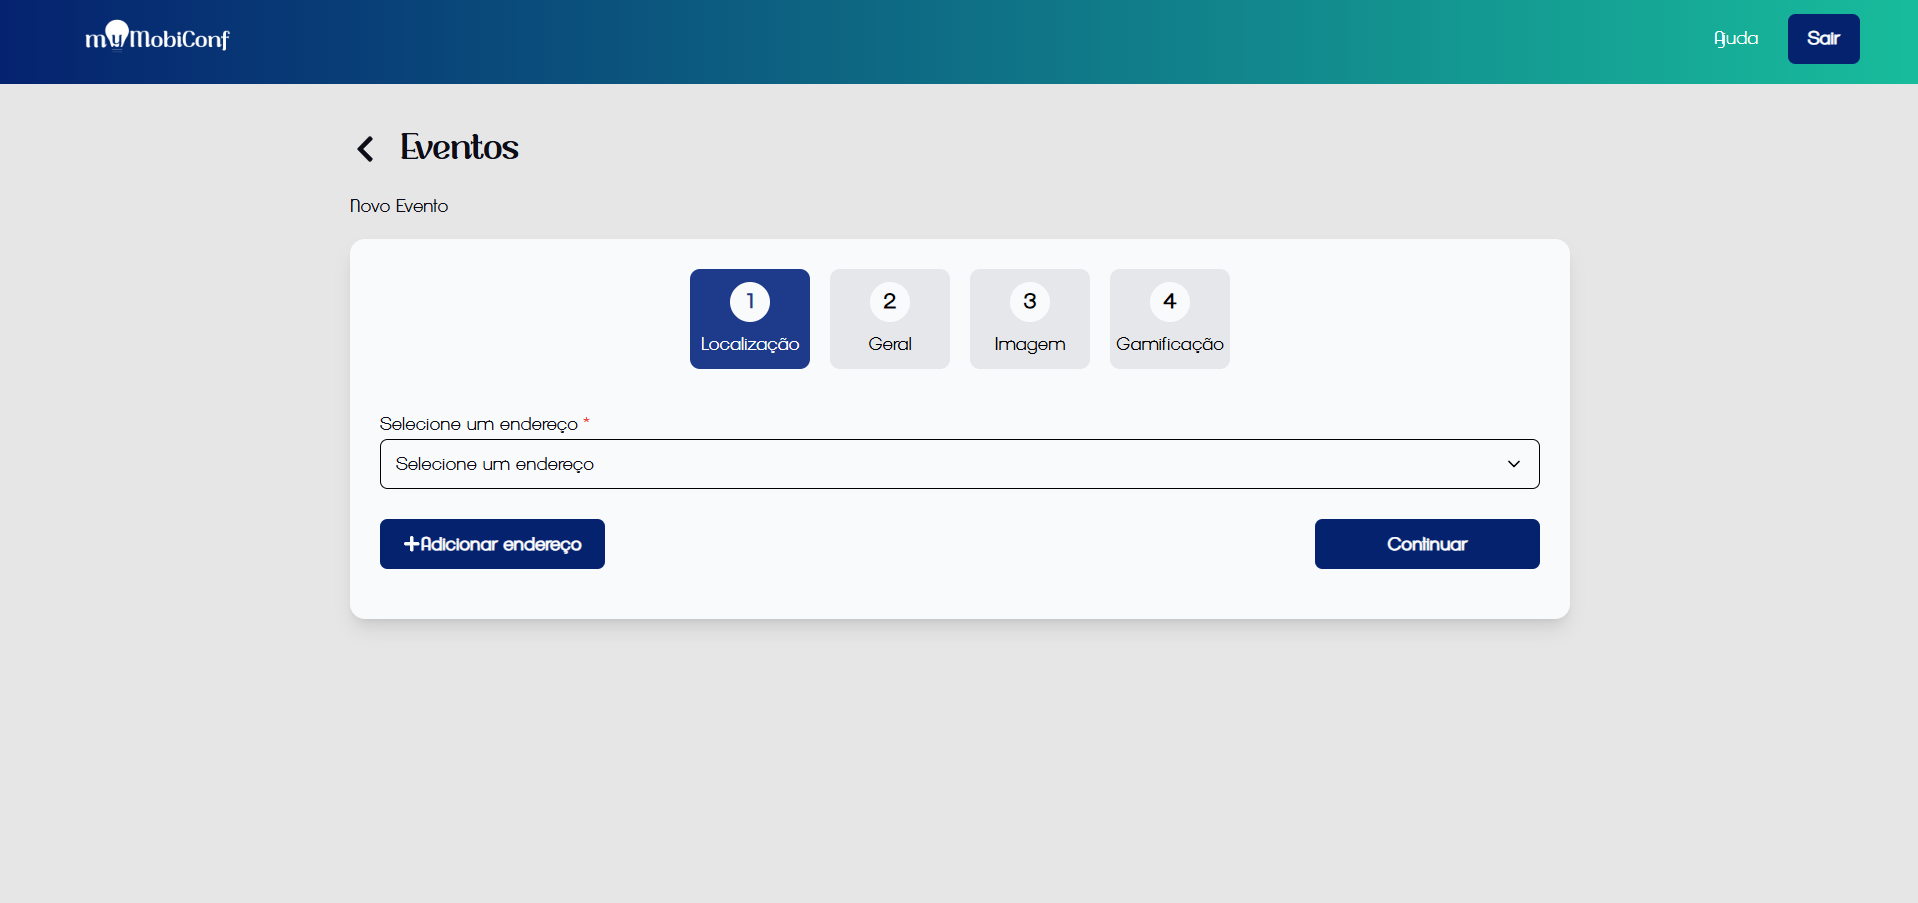
Initial registration form
1. Location Definition (Address)
The first step is to define where the event will take place.
- Existing Address: If you have already registered the location, simply select it from the "Select an address" list.
- New Address: If it is a new location, click on "Add new address".
Registering a new address
When registering a new address, carefully fill in the Street, Number, City, and Zip Code fields. This information is vital for the event's geolocation in the app.
2. General Information
In this section, you will define your event's identity. Fill in the fields:
- Event Name: The official title that will appear to the public.
- Acronym: A short abbreviation (e.g., CONF2024).
- Description: An attractive text explaining the purpose of the event.
- Website and Email: Official contact channels.
- Dates: Define the start and end of the event precisely.
3. Cover Image
A good image is essential to attract participants.
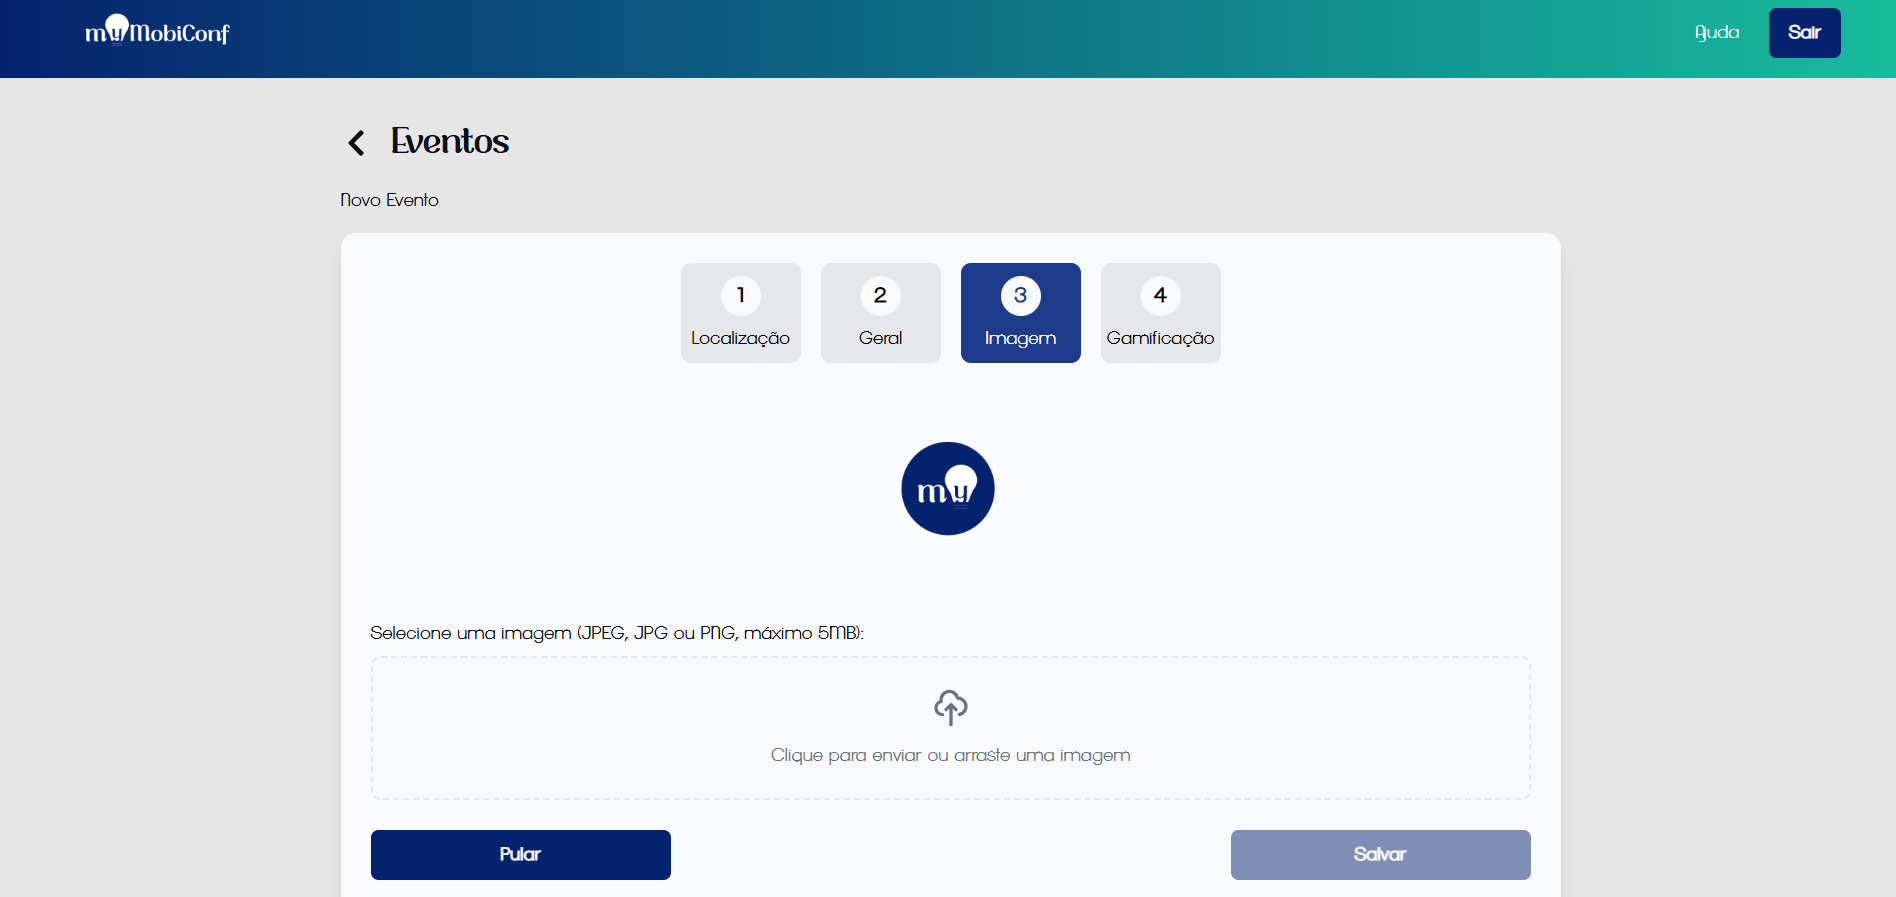
Select a high-quality image
You can upload now or skip this step and add it later.
4. Gamification (Optional)
Engage your audience with missions and prizes. In this step you can:
- Define the description of the prizes.
- Create specific missions (e.g., "Visit booth X", "Check-in").
- Configure scoring rules.
Not sure about gamification right now? Click "Skip". You can configure all this in detail later in the "Gamification" tab.
When all steps are finished, click "Finish" to save your event.